เทรน LoRA WAN2.1, Flux Kontext, QWEN Image ผ่าน Runpod ด้วย vjumpkung Musubi Tuner Template

ในบทความนี้จะข้ามในเรื่องของการตั้งค่าบน Runpod ไปนะครับโดยสามารถอ่านวิธีการใช้งาน Runpod ได้ที่ เทรน LoRA ผ่าน Runpod ด้วย vjumpkung kohya-ss GUI v24.3.0 Template
-
CU128 MUSUBI TUNER RUNPOD TEMPLATE : https://console.runpod.io/deploy?template=dgh3th0uba&ref=6h6f9kga (รองรับการ์ดจอ 50 series)
-
CU124 MUSUBI TUNER RUNPOD TEMPLATE : https://console.runpod.io/deploy?template=rj6rfpu22a&ref=6h6f9kga (ใช้กับการ์ดจอส่วนมากใน runpod ได้)
SUPPORT MODELS
- Flux Kontext
- WAN2.1 14B
- QWEN Image
และ หากต้องการใช้ model อื่น ๆ ให้ใช้ terminal และ command line ในการเรียกใช้งาน
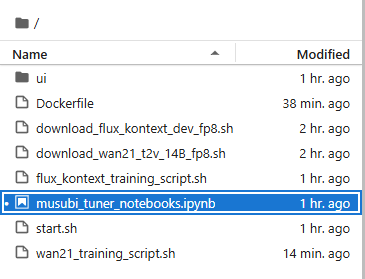
- เปิดไฟล์ musubi_tuner_notebooks.ipynb
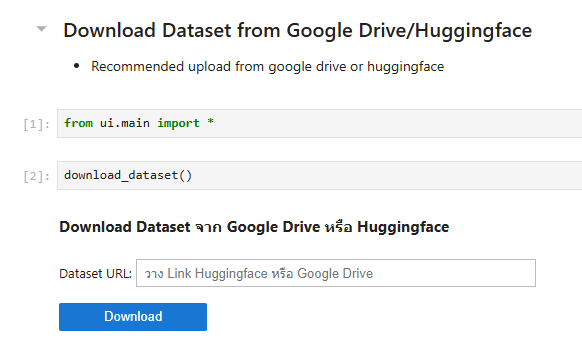
- download dataset โดยผ่าน cell นี้ หรือ upload ที่ file manager ทางด้านซ้าย
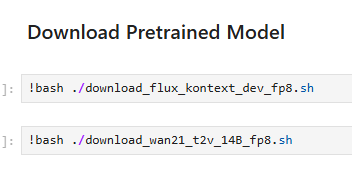
- download pretrained model โดยมีให้เลือก WAN2.1 Text To Video หรือ Flux Kontext ตามที่ต้องการ
- ตัวโมเดลเป็นแบบ fp8 เพื่อให้ใช้ในการเทรนบนการ์ดจอ VRAM 24 GB หรือต่ำกว่าได้
- อัพโหลดไฟล์ dataset_config.toml โดยตั้งค่าตำแหน่งของ dataset และ ตั้งค่า training size
ตัวอย่าง dataset_config สำหรับ WAN2.1 (แบบเจนภาพ)
[general]

resolution = [1024, 1024]
caption_extension = ".txt"
batch_size = 1
enable_bucket = true
bucket_no_upscale = false

[[datasets]]
image_directory = "./lora_training/image"
cache_directory = "./lora_training/cache"
num_repeats = 6
ตัวอย่าง dataset_config สำหรับ Flux Kontext
[general]

resolution = [768, 768]
caption_extension = ".txt"
batch_size = 1
enable_bucket = true
bucket_no_upscale = false

[[datasets]]
image_directory = "./lora_training/image"
cache_directory = "./lora_training/cache"
control_directory = "./lora_training/control"
num_repeats = 30
- ตั้งค่า parameters ก่อนเริ่ม train
เปิดไฟล์ wan21_training_script.sh หรือ flux_kontext_training_script.sh และตั้ง paramters ก่อนกดเทรน
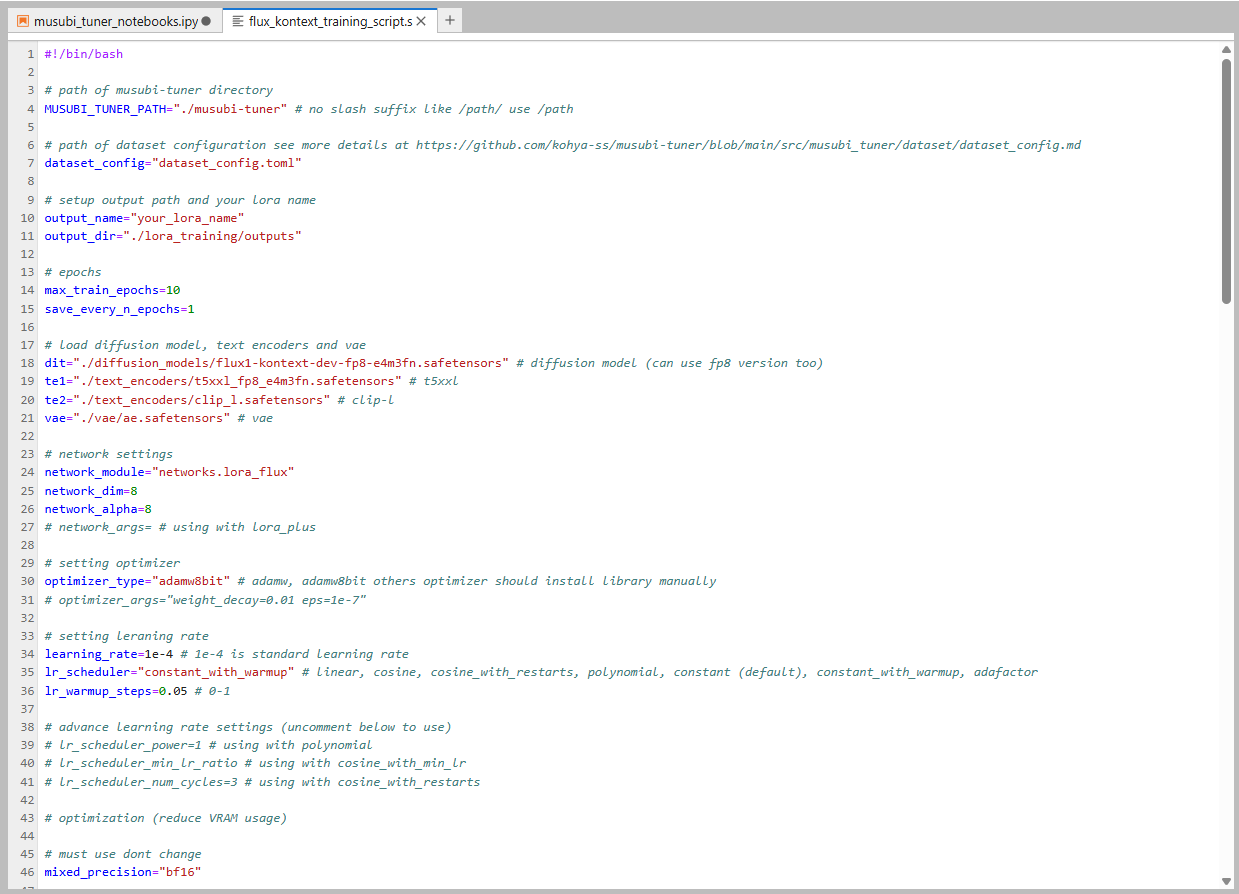
ตัวอย่าง parameters (บางส่วน) ของ flux kontext
# path of musubi-tuner directory
MUSUBI_TUNER_PATH="./musubi-tuner" # no slash suffix like /path/ use /path

# path of dataset configuration see more details at https://github.com/kohya-ss/musubi-tuner/blob/main/src/musubi_tuner/dataset/dataset_config.md
dataset_config="dataset_config.toml"

# setup output path and your lora name
output_name="test"
output_dir="./lora_training/outputs"

# epochs
max_train_epochs=10
save_every_n_epochs=1

# load diffusion model, text encoders and vae
dit="./diffusion_models/flux1-kontext-dev-fp8-e4m3fn.safetensors" # wan diffusion model (can use fp8 version too)
te1="./text_encoders/t5xxl_fp8_e4m3fn.safetensors" # t5xxl
te2="./text_encoders/clip_l.safetensors" # clip-l
vae="./vae/ae.safetensors" # vae

# network settings
network_module="networks.lora_flux"
network_dim=8
network_alpha=8
# network_args= # using with lora_plus

# setting optimizer
optimizer_type="adamw" # adamw, adamw8bit others optimizer should install library manually
# optimizer_args=""

# setting leraning rate
learning_rate=1e-4 # 1e-4 is standard learning rate
lr_scheduler="cosine" # linear, cosine, cosine_with_restarts, polynomial, constant (default), constant_with_warmup, adafactor
lr_warmup_steps=0.05 # 0-1

# advance learning rate settings (uncomment below to use)
# lr_scheduler_power=1 # using with polynomial
# lr_scheduler_min_lr_ratio # using with cosine_with_min_lr
# lr_scheduler_num_cycles=3 # using with cosine_with_restarts

# optimization (reduce VRAM usage)

# must use dont change
mixed_precision="bf16"

# using fp8_e4m3fn instead of fp16
fp8_base=true

# reduce vram usage (vram 16 GB recommended 22)
blocks_to_swap=0

# advanced settings (If you know what is this then uncomment in each args)
# save_state=true
timestep_sampling="flux_shift"
weighting_scheme="none"
discrete_flow_shift=1.0
guidance_scale=1.0
gradient_checkpointing=true
seed=42
persistent_data_loader_workers=true
max_data_loader_n_workers=2 # for faster dataset loading
# sdpa=true
xformers=true

cache_text_encoder_batch_size=16

# huggingface_hub uploading (uncomment below to use)

# huggingface_repo_id=
# huggingface_repo_type=
# huggingface_path_in_repo=

# huggingface_token=
# huggingface_repo_visibility=
# async_upload=true

# for people who knows how to use args
extra_args=""
เมื่อทำการตั้ง parameters เสร็จแล้วให้ทำการ run cell ตาม model ที่ต้องการ
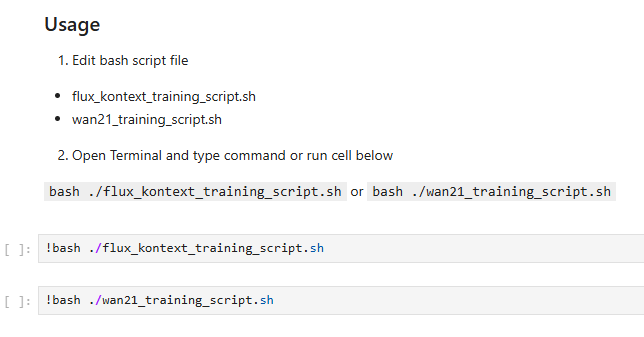
โดย script นี้จะทำการ cache latent + text encoder และ train ให้อัตโนมัติ
เมื่อทำการ train เสร็จแล้วให้ดูที่ output folder หรือ huggingface repo (หากใช้ huggingface hub repo)
ตัวอย่าง LoRA WAN2.1 text2video 1 frame

*ใช้เพื่อการศึกษาเท่านั้น #ภาพAIไม่ใช่ของจริง 🤣
ตัวอย่าง LoRA Flux Kontext